
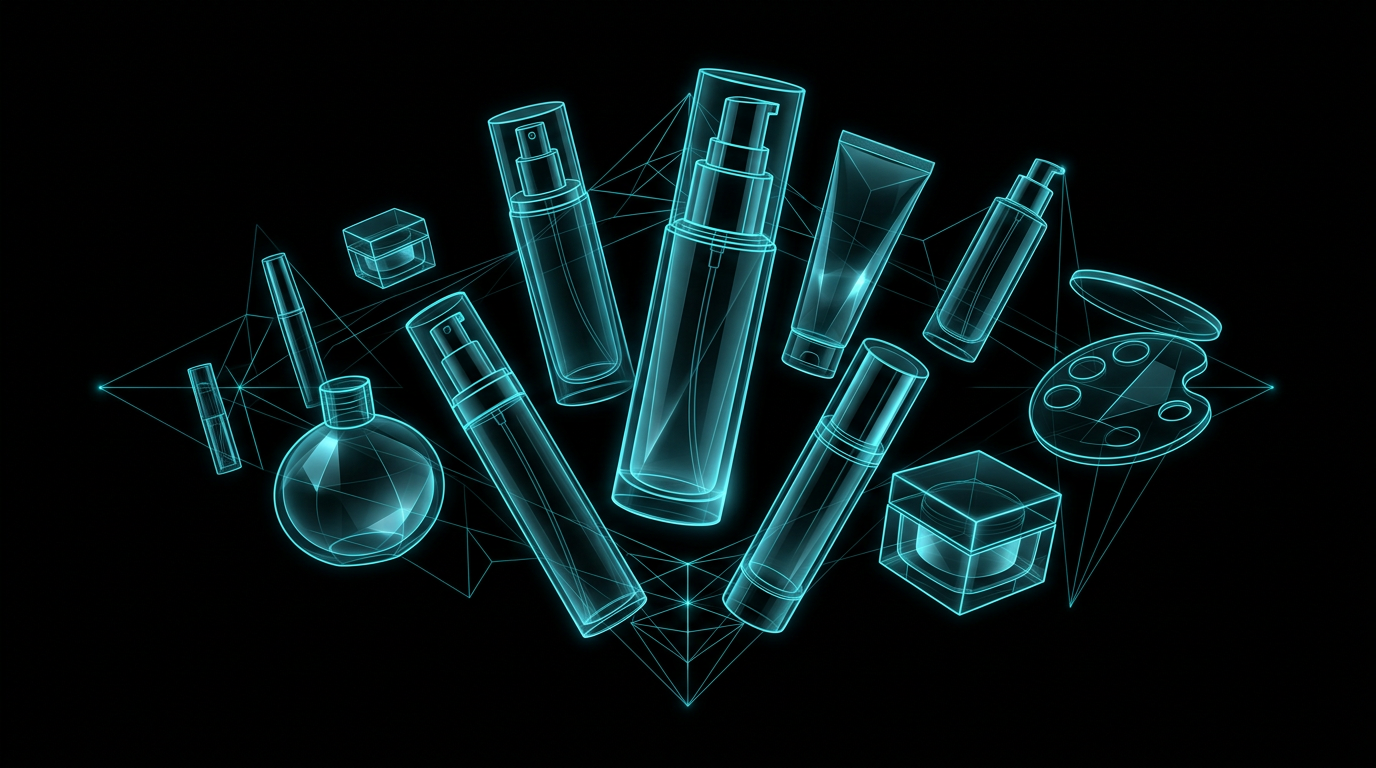
To create a high-quality visual of your physical product using artificial intelligence, you need a structured ai product mockup prompt that details the physical item and its surrounding environment. By breaking your description into specific components like subject, composition, lighting, camera angle, and style, you can guide the generator to produce a clean, professional mockup. This systematic approach ensures your digital designs look realistic and appealing to your customers.
Finding the right balance in your product images often feels like an exhausting guessing game of trial and error. You type in a basic description and receive a cluttered scene with warped bottles, floating labels, or chaotic backgrounds that distract from your actual work.
Why simple mockup prompts fail
Simple prompts fail because AI image generators lack the context of commercial photography and tend to over-decorate scenes by default. Without explicit instructions, the generator will guess the background, lighting, and camera settings, often choosing dramatic or chaotic styles instead of clean, commercial presentation.
When you write a brief prompt, the AI draws from its training data, which includes billions of artistic, dramatic, and busy images. If you do not specify that you want a clean studio setup, the generator might place your product in an active forest, on a busy street, or under colorful neon lights. This extra detail makes it incredibly difficult to isolate the product or overlay your own branding later.
How to structure an ai product mockup prompt
Structuring your prompt requires dividing the visual scene into specific, predictable categories that the AI can interpret. By addressing seven key elements, you eliminate guesswork and keep the focus entirely on your product.
You can build a reliable formula by organizing your thoughts into a template. Each section of the template handles one physical or artistic characteristic of the final image.
- Subject: What is the physical object? Describe its material, color, and shape clearly.
- Composition: Where is the object placed? Is it centered, off-center, or part of a group?
- Lighting: What is the light source? Studio lighting, soft natural light, or dramatic side light?
- Camera: What is the angle and lens? An eye-level shot, macro close-up, or slightly top-down perspective?
- Mood: What feeling should the image evoke? Minimalist, premium, organic, or vibrant?
- Style: Is it a clean commercial photograph, a 3D render, or a lifestyle shot?
- Constraints: What should be avoided? Mention details like no text, no extra clutter, or no human hands.
By keeping these factors in mind, you can build a prompt that yields consistent results across different product lines.
Designing the subject and its materials
The subject is the core of your mockup, and describing its exact materials is crucial for realistic textures. You must specify whether the surface is matte plastic, brushed amber glass, textured recycled paper, or polished metal to get the correct reflections.
AI tools are highly responsive to material descriptors. If you simply write "bottle," the generator might choose a shiny, cheap-looking plastic. Writing "frosted glass spray bottle with a matte black bamboo cap" gives the AI clear instructions on how light should bounce off the surfaces. This level of detail helps the model generate realistic highlights and shadows that make the product look tangible.
Controlling the composition and background
Composition determines where the viewer looks and how much breathing room your product has. A clean mockup usually requires a simple, uncluttered background like a solid plaster wall, a neutral concrete surface, or a simple wooden block.
If your background is too busy, your mockups will look unprofessional and distract from the label design you want to display. Keep the environment minimalist by using plain surfaces and neutral colors.
A great product mockup hides the background so the design itself can shine.
This focus on simplicity makes it much easier to edit your images later. You can easily cut out the product or blend it into different marketing materials when the background is clean and predictable.
Choosing the right lighting and camera settings
Lighting and camera choices transform a flat digital image into a believable physical product. Commercial mockups usually benefit from soft, diffused studio lighting and a shallow depth of field, which keeps the product sharp while gently blurring the background.
In professional photography, light defines the shape of the object. For AI mockups, asking for "soft directional light" or "bright studio lighting" ensures that the product has soft shadows instead of harsh, dark lines. Specifying a camera lens, like a "50mm portrait lens," helps maintain a natural, realistic perspective without the fish-eye distortion that often happens with default AI settings.
Examples of product mockup prompts
Comparing basic descriptions with structured prompts shows how much control you gain over the final image. A detailed prompt guides the AI to build a specific, professional studio setup instead of a generic, low-quality picture.
Here are two comparisons showing how to apply these rules to different types of packaging.
Weak prompt
A plastic cosmetic bottle mockup on a table.
Stronger prompt
Commercial product photography of a blank matte white plastic cosmetic pump bottle. The bottle is placed upright and centered on a smooth, light beige concrete surface. Soft, diffused studio lighting from the top-left creates gentle shadows. Shot with a 50mm lens at eye-level, clean minimalist aesthetic, shallow depth of field, solid neutral warm gray background, no text on the bottle.
Now let us look at a coffee bag mockup to see how to apply the same structure to a different texture.
Weak prompt
Coffee bag mockup with coffee beans around it.
Stronger prompt
Studio product shot of a blank matte black paper coffee bag with a flat bottom. The bag is positioned in the center, slightly angled to the right. A small, neat pile of dark roasted coffee beans sits on the surface next to the bag. Soft natural side lighting from a window on the right. Shot on a dark charcoal stone surface against a matching dark background, high-end organic aesthetic, clean composition, crisp focus on the bag texture, no text.
By comparing these examples, you can see how specific details about surface materials, background textures, and light sources transform a basic, unpredictable image into a highly professional asset.
A quick checklist for your mockup prompts
Before you generate your image, review your prompt to ensure you have not left the visual style up to chance. Running through a quick list of details prevents wasted attempts and keeps your generations consistent.
Use this checklist for every mockup you create:
- Is the material of the product container clearly stated?
- Have you specified a clean, neutral background color or texture?
- Did you define the light source as soft, studio, or natural?
- Is there a camera angle or lens mentioned to control the perspective?
- Did you add negative prompts or constraints to prevent unwanted text or clutter?
How to handle complex mockup requirements
Some products require complex arrangements, multiple items, or specific angles that are difficult to write from scratch. When you struggle to find the right terms for your visual ideas, using a dedicated assistant can save hours of trial and error.
If you are unsure how to describe a complex scene, you can use The Prompt Engineer to help you build your prompt. The tool will ask you targeted questions about your audience, goal, and layout, then generate a copy-and-paste prompt tailored to your favorite AI image generator. This ensures you include all necessary visual details without needing a degree in photography. It helps you break down complex visual ideas into clear, structured instructions that the AI can actually understand.
Common questions
How do I add my own design to the AI mockup?
Most AI image generators cannot perfectly place your exact logo or flat design onto a 3D object yet. The best approach is to generate a blank mockup with clean surfaces, then use a standard graphic design program to overlay and warp your design onto the bottle, box, or bag.
Why does the AI keep generating random gibberish text on my mockup?
AI generators often try to guess what text should go on a label because they are trained on real product packaging. You can prevent this by explicitly adding phrases like "blank label", "no text", "completely blank", or "plain surface" to your prompt.
Which aspect ratio is best for product mockups?
A square or slightly horizontal aspect ratio is usually best for displaying individual product mockups on websites or online stores. You can specify this in your prompt settings to ensure the product has plenty of balanced space on both sides.
The short version
- Break your prompt into clear visual categories: subject, composition, lighting, camera, and style.
- Specify the exact material of the product, such as matte plastic, amber glass, or textured paper.
- Use neutral backgrounds and soft studio lighting to keep the focus entirely on the product.
- Add explicit instructions like "blank label" or "no text" to prevent unwanted visual clutter.
- Refine your composition with simple graphic tools if you need to place exact logos on the final image.
Related reading
- How to Prompt AI for Luxury Product Photos: Learn how to write highly specific prompts that produce clean, professional, and elegant product imagery without the usual visual clutter.
- ChatGPT Prompts for Digital Product Creators: Learn how to write structured prompts that turn raw ideas into high-quality ebooks, courses, and digital products.
- How to Describe Lighting in AI Image Prompts: Stop settling for flat, artificial-looking renders. Use these structured lighting techniques to bring depth and mood to your AI images.
- How to Get More Cinematic AI Videos: Stop using generic buzzwords. Learn how to structure your camera, lighting, and environmental prompts for clean, cinematic AI video results.
- How to Describe Camera Movement in AI Video Prompts: Learn how to direct the camera in AI video generators to get smooth, professional camera movements instead of chaotic, random motion.