
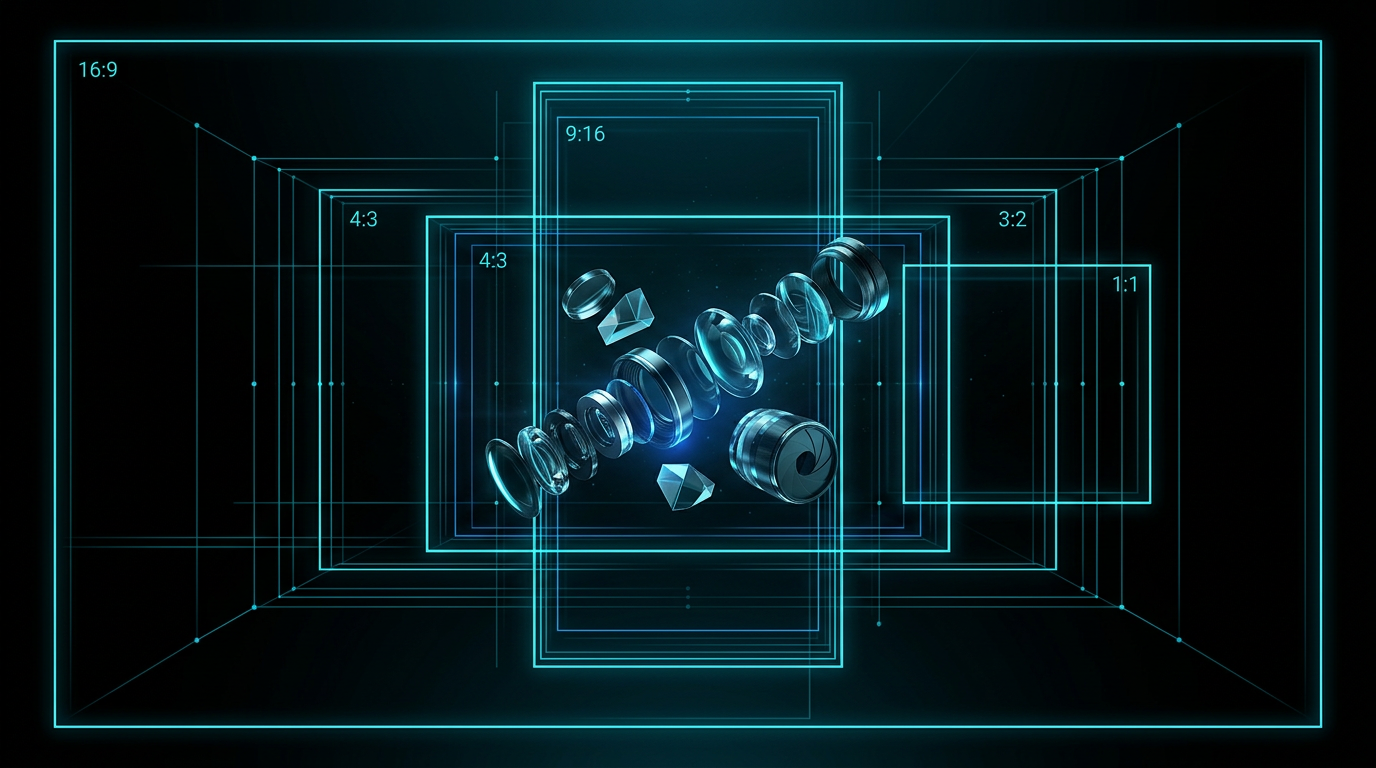
To set the framing and shape of a generated picture, you must include a specific ai image aspect ratio prompt constraint alongside descriptive composition terms. Most modern generative tools accept a dedicated parameter like --ar or a written dimension ratio such as 16:9 for landscape and 9:16 for portrait. Combining these dimensional parameters with camera terms like 'wide shot' or 'close-up' ensures your subject fits perfectly within the frame without being cropped awkwardly.
It is incredibly frustrating when you prompt an AI generator for a wide landscape scene, only to receive a tightly cropped square where the subject's head is sliced off. You try adding words like 'zoom out' or 'full body,' but the tool seems to ignore your instructions entirely.
What is an ai image aspect ratio prompt and why does it matter?
An ai image aspect ratio prompt is a setting or phrase that dictates the proportional width and height of your generated image. Controlling this shape is essential because it prevents the generator from using a default square canvas that might squeeze or awkwardly crop your subject.
Most AI generators start with a 1:1 square by default. This works fine for basic profile pictures, but it is terrible for cinematic landscapes, tall mobile screens, or presentation slides. If you want a sweeping mountain range, a square frame forces the AI to cram everything into the center. A wide 16:9 frame gives the landscape room to breathe.
Different AI tools handle these shape instructions differently. Some use simple text commands at the end of the prompt, while others use advanced settings. No matter which tool you use, specifying the shape first helps the model organize the entire composition from the very first pixel.
Framing is the boundary of your story; if you do not define the edges, the AI will guess where they should be.
How to break your visual prompt into key parts
Breaking your visual prompt into structured parts allows you to control the placement, look, and dimensions of your image without confusing the generator. A structured prompt divides your ideas into distinct categories like subject, composition, camera angle, and constraints.
When you write a single, long sentence, the generator has to guess which words are most important. It often focuses on the first few words and ignores the rest. By organizing your prompt into clear sections, you ensure the AI gives equal weight to how the scene is framed and what is inside it.
Here are the seven parts of a highly effective visual prompt:
- Subject: What is the main focus of the image? Describe this first.
- Composition: Where is the subject placed in the frame? Use terms like 'centered' or 'rule of thirds.'
- Lighting: What is the light source? You can choose soft morning light, harsh midday sun, or neon glow.
- Camera: What is the camera distance and angle? Specify if it is a wide shot, eye-level, or a low-angle shot.
- Mood: What is the emotional feeling of the image? Use words like peaceful, mysterious, or energetic.
- Style: Is this a photograph, an oil painting, a 3D render, or a vintage sketch?
- Constraints: What are the physical boundaries, including the aspect ratio? This is where you specify the exact dimensions.
Camera framing terms that actually work
Using standard film industry camera terms is the most reliable way to control how close or far the viewer feels from the subject. AI models are trained on millions of captioned movie stills and photographs, meaning they understand professional camera language much better than vague words like 'zoomed out.'
If you want to see a person from head to toe, do not just type 'full body.' Instead, use the term 'wide shot' or 'full-length shot.' If you only want to see their head and shoulders, use 'medium close-up.'
Here are a few standard camera framing terms that work across almost all AI image generators:
- Extreme wide shot: Great for showing massive landscapes where the subject is tiny.
- Medium shot: Captures the subject from the waist up, ideal for showing action and expressions together.
- Close-up: Focuses tightly on a face or a specific object to show detail and emotion.
- Low-angle shot: The camera looks up at the subject, making them appear powerful or heroic.
- Overhead shot: Also known as a bird's-eye view, this looks straight down at the scene.
A before and after prompt comparison
A well-structured prompt clearly separates the description of the subject from the camera framing and physical aspect ratio instructions. Shifting from a conversational sentence to a structured format removes the guesswork for the AI generator.
Let us look at a common mistake. A user might write a quick sentence hoping the AI will figure out the cinematic framing on its own. Usually, this results in a generic square close-up.
Weak prompt
A cool futuristic city with flying cars and tall buildings, make it wide and cinematic.
The generator will likely struggle with 'make it wide and cinematic' because those terms are too subjective. It might give you a square image with a slightly wide lens effect inside it.
Here is how you can rewrite this prompt using structured categories and a clear aspect ratio constraint.
Stronger prompt
Subject: A futuristic city street with glowing neon signs and sleek flying vehicles weaving between glass skyscrapers.
Composition: Low-angle view looking up from the street level to emphasize the height of the buildings.
Lighting: Nighttime, illuminated by vibrant cyan and magenta neon lights reflecting on wet pavement.
Camera: Extreme wide shot, cinematic framing.
Style: Realistic photograph, high-detail architectural rendering.
Constraints: aspect ratio 16:9
By splitting the instructions, the AI knows exactly what to draw, where to place the camera, and how to shape the final canvas.
Quick checklist for framing and aspect ratios
To get consistent visual results every time you generate an image, you should run your prompt through a final quick check before hitting submit. This checklist ensures you have not left any critical framing or dimension settings to chance.
If you find yourself struggling to organize these pieces, you can easily use The Prompt Engineer to draft them for you. The tool asks you simple questions about your goals and outputs a perfect, structured copy-and-paste prompt.
- Did you specify the numeric aspect ratio at the very end of your prompt?
- Did you use a professional camera term (like 'wide shot' or 'close-up') instead of vague words like 'zoomed'?
- Is your main subject described before you describe the background and lighting?
- Have you removed conflicting words (like asking for a 'full body shot' but using a square ratio)?
Common questions
Understanding how AI interprets framing and shape can help you troubleshoot common errors instantly. These frequently asked questions address the most practical ways to fix cropped images and select the correct dimensions.
Why does the AI keep cropping the heads off my subjects?
This happens because the camera framing term contradicts the aspect ratio you selected. If you ask for a 'full body portrait' but leave the aspect ratio as a square, the AI does not have enough vertical space to fit the whole body, so it crops the head or feet. To fix this, use a tall aspect ratio like 9:16 or change your framing term to 'medium shot.'
Can I change the aspect ratio of an image after it is generated?
Yes, many generative tools now offer 'outpainting' or 'zoom-out' features that allow you to expand the borders of an existing image. However, this process requires the AI to invent new details to fill the blank space, which can sometimes look unnatural. It is always best to set the correct aspect ratio from the very beginning.
What is the best aspect ratio for social media platforms?
The best aspect ratio depends entirely on where you plan to post the finished image. For mobile-first platforms like Instagram Reels, TikTok, or YouTube Shorts, you should use a vertical 9:16 aspect ratio. For professional presentations, website banners, or desktop screens, a widescreen 16:9 ratio is the industry standard.
Do camera lens terms like 35mm or 85mm affect the framing?
Yes, adding lens focal lengths to your prompt can dramatically alter the depth of field and framing of your image. An 85mm lens term tells the AI to create a flattering portrait with a soft, blurred background, while a 24mm wide-angle lens term forces a wider view that captures more of the surrounding environment.
The short version
- Specify the exact numeric aspect ratio (like 16:9 or 9:16) at the end of your prompt to control the canvas shape.
- Use professional film terms like 'wide shot,' 'medium shot,' or 'close-up' to control the camera distance.
- Avoid vague words like 'zoomed out' and instead describe the environment surrounding your subject.
- Keep your prompt organized by breaking it down into subject, composition, camera, and constraints.
Related reading
- How to Describe Lighting in AI Image Prompts: Stop settling for flat, artificial-looking renders. Use these structured lighting techniques to bring depth and mood to your AI images.
- Image Prompts vs Video Prompts: What's Different?: Learn how to turn static image descriptions into dynamic, high-quality video prompts that control motion, lighting, and camera work.
- Best AI Image Prompts: Structure, Examples and Fixes: Learn the visual formula behind the best AI image prompts, with practical before-and-after examples and fixes for common mistakes.
- An AI Image Prompt Formula for Beginners: Stop guessing your image prompts. Learn the simple seven-part formula to get predictable, high-quality AI images every single time.
- How to Describe an Image to AI: A Simple 6-Part Formula: Stop guessing and wasting generations. Learn the exact technical layers you need to describe your vision to any AI image generator.