
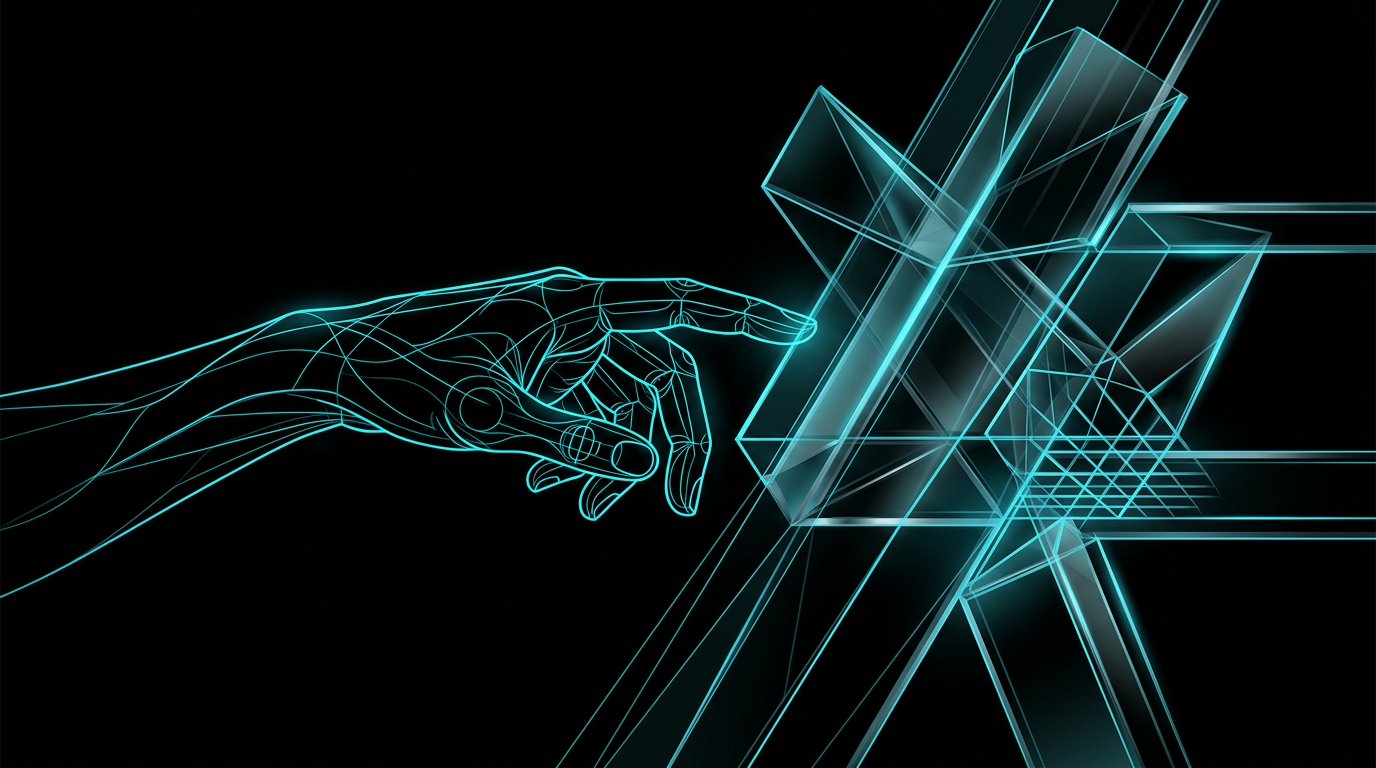
To know how to fix hands in ai images, you must shift your focus from simply asking for hands to defining the entire structural anatomy of your scene. AI models fail at drawing hands because they do not understand skeletal structure; they only predict pixel patterns. You can resolve this issue by giving the AI specific physical constraints, detailing what the hands are touching, and describing the physical interactions within the frame.
We have all generated a beautiful portrait only to notice a hand with seven twisted fingers growing out of a wrist. It ruins an otherwise perfect image and leaves you feeling completely stuck.
Why AI generators struggle with human hands
AI image models generate pictures by predicting which pixels belong next to each other based on thousands of reference photos. They do not have a three dimensional model of a human skeleton in their programming, so they do not understand that a hand must have exactly five fingers attached to a palm. Instead, they see hands as a cluster of flesh-colored shapes that often blur together in real photos.
Because hands are incredibly flexible, they appear in thousands of different positions, angles, and configurations. In one reference photo, a hand might be balled into a fist, while in another, the fingers are spread wide. The AI attempts to blend these varying visual patterns together, which frequently results in extra digits, melted skin, or joints that bend in impossible directions.
How to fix hands in ai images using physical constraints
You can fix hands in your AI-generated images by giving the hand a specific physical task or object to hold. When you prompt the AI to show a person holding a coffee mug, gripping a steering wheel, or pocketing their hands, you force the model to conform the fingers to a logical, recognizable shape. This reduces the chance of the AI generating floating fingers or extra joints because it must wrap the hand around a defined geometry.
By introducing a solid object into the scene, you give the AI a physical anchor. The algorithm must calculate how skin and bone interact with a hard surface, which naturally limits the chaotic predictions the model might otherwise make. This simple technique is one of the most reliable ways to improve hand anatomy in any AI image tool.
Breaking your visual down into seven key parts
To get clean hands and high-quality images consistently, you need to structure your prompt into clear, distinct parts. Instead of writing one long, rambling sentence, divide your instructions into subject, composition, lighting, camera, mood, style, and negative constraints. This structured approach gives the model a clear blueprint to follow.
By isolating these seven elements, you prevent the AI from getting confused by competing instructions. Each part of your prompt serves a specific purpose in building the final scene.
The first part is the subject. This is where you describe the person and exactly what their hands are doing. You must be highly specific about the contact points between their fingers and any objects in the scene.
The second part is composition. You need to decide how close the camera is to the subject. A wider shot places less emphasis on the hands, making minor errors less noticeable, while a close-up requires much tighter detail.
The third part is lighting. Light creates depth and shadows, which help define the shapes of fingers. Describing clear light sources prevents the AI from creating flat, muddy areas where fingers tend to merge.
The fourth part is the camera. Specifying a lens and an aperture helps the AI mimic real photography. A shallow depth of field can keep the subject sharp while softly blurring the background, focusing the model's rendering power on the main action.
The fifth part is the mood. The emotional feeling of the scene influences the posture of your subject. A relaxed mood suggests loose, natural hand positions, while an energetic mood might call for active gestures.
The sixth part is the style. You must state the visual medium clearly. A clean, modern photograph requires different rendering rules than an oil painting or a pencil sketch, which changes how the AI calculates edge details.
The seventh part is the negative constraints. These are the elements you want to exclude from the image. Listing anatomical errors here acts as a final safeguard to keep the image clean.
Before and after prompt examples
Comparing a simple prompt with a structured, detailed prompt shows how much control you can gain over the final image. A basic prompt leaves too many decisions to the AI, which often results in anatomical errors. By adding specific details about physical contact and camera settings, you guide the AI to render hands correctly.
Weak prompt
A businesswoman drinking coffee in an office, looking happy, highly detailed, realistic hands.
Stronger prompt
Subject: A professional woman in her late thirties, sitting at a wooden desk, holding a ceramic coffee mug with both hands. Her fingers are wrapped naturally around the warm mug, with only four fingers and a thumb visible on each hand.
Composition: Medium shot, focusing on the woman from the waist up. The desk and a laptop are in the soft-focus background.
Lighting: Soft, natural window light from the left side, casting gentle shadows across her hands and face.
Camera: Shot on a 50mm lens at eye level, shallow depth of field.
Mood: Calm, focused, and professional.
Style: Clean editorial corporate photography, sharp focus on the hands and mug, natural skin textures.
Constraints: No extra fingers, no double thumbs, no mutated joints, no floating limbs.
Designing prompts that prevent anatomical errors
Preventing anatomical errors requires you to be highly specific about the physical interactions in your scene. If you do not specify how a person is standing or what they are holding, the AI will make its own guess, which often leads to chaotic results.
"When you give an AI a physical object to wrap its fingers around, you force the algorithm to respect the laws of geometry."
If you are not sure how to structure these details, using a tool like The Prompt Engineer can help you fill in those missing details. The tool asks you specific questions about your visual goals, such as your audience, style, and constraints, before you run your prompt. This ensures your prompt contains all the necessary instructions to keep hands looking natural and professional.
Checklist for clean hands in AI images
- Give the hands a physical object to hold, such as a pen, a cup, or a railing.
- Place the hands inside pockets or behind the back if they do not need to be visible in the scene.
- Describe the exact contact between the hand and the surface it is touching to guide the geometry.
- Specify the number of visible fingers and thumbs when describing a close-up shot.
- Avoid generic buzzwords like perfect hands or photorealistic and use physical descriptions instead.
Common questions
Why does the AI keep adding six fingers to my characters?
AI models do not count objects; they match visual patterns based on pixel density. Because human hands appear in millions of different angles and overlapping positions in the training data, the model often blends multiple hand positions together, resulting in extra fingers.
Can negative prompts completely fix bad hands?
Negative prompts can help reduce the frequency of bad hands, but they cannot fix them completely on their own. You must combine negative prompts with positive descriptions of physical objects and touch points to give the model a clear structural path to follow.
Does zooming out help prevent weird hands?
Yes, zooming out to a wide shot can often hide hand details because the hand occupies fewer pixels in the final image. When the hand is small, the AI does not need to render individual fingers, which makes minor errors much harder to spot.
The short version
- Give hands a clear physical job, like holding a mug or resting on a table, to anchor the geometry.
- Break your prompt into seven key parts: subject, composition, lighting, camera, mood, style, and constraints.
- Avoid vague quality words and instead describe physical interactions and natural textures.
- Use negative prompts as a secondary safety net rather than relying on them to do all the work.
Related reading
- How to Get More Consistent AI-Generated Images: Learn how to generate matching, cohesive visuals by breaking your image prompts into seven structured parts.
- How to Get a Blurry Background in AI Images: Stop asking for a blurry background and start using the language of real photographers to make your AI subjects pop.
- How to Get a Consistent Art Style in AI Images: Stop wasting credits on random results. Learn the seven-part formula to create beautiful, cohesive brand assets with any AI image tool.
- How to Get a Clean, Plain Background in AI Images: Tired of cluttered backdrops? Learn how to use professional photography terms and structures to get perfectly clean, plain backgrounds in your AI images.
- How to Keep the Same Character in Multiple AI Images: Create consistent visual stories by breaking your prompts into repeatable layers and specific physical anchors.